Round 'n round
Today's deep-dive will be a Droplet animation I did for DigitalOcean. This was a branding experiment to test out future initiatives for the company.
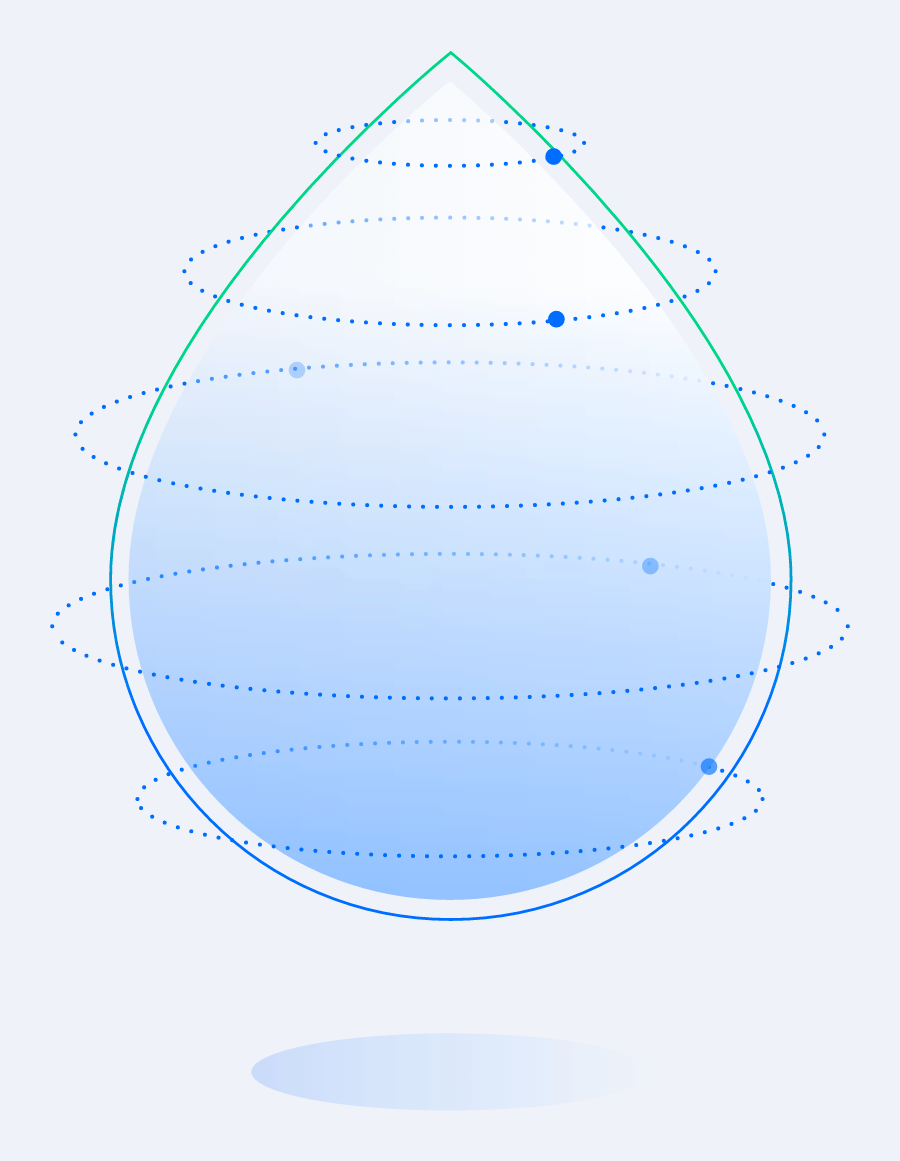
Let's take a look at the illustration I was given:

I love getting illustrations from DO designers as there's no shortage of hand-movements and "swoosh" sounds between us as we construct how best to bring illustrations to life. Yes, we are professionals. No, we don't have any shame.
Breaking this down, there were a few different pieces to this animation:
- The entire Droplet should bob up and down, with the bottom shadow responding appropriately based on the proximity of the Droplet.
- 5 different dots following the respective "dot-axises".
- Each dot should go behind the shape as if the Droplet itself is on a different layer.
Task 1
I started by creating two separate TweenMax iterations. With the Droplet, we're impacting the y-axis to travel up by 15px with the yoyo property to automatically return to the starting position—repeating indefinitely.
For the bottom-shadow, we want to give the illusion of the Droplet getting closer to the imaginary floor we're setting in our scene. We'll still use the yoyo and repeat properties as we did for the Droplet, but instead of impacting the y-axis, we'll change the scale.
Task 2
I decided to use the Bezier Plugin which accepts an array of points/values and type to determine the strength of the curve, taking your target element and translating based on the aforementioned attributes. Since the dotted-lines were two separate paths (more on that later), I decided against using the suggestion from this post and mapped out what I called each "hard-stop".

By finding each position relative to the [0, 0] point I had each dot start at—the lower center— I was able to create a pretty reliable coordinate system that ended up back at the beginning. The first for example, was:
Then, with the type attribute the Bezier plugin provides, I was able to adjust the curviness of the path it would follow based on the imperfect nature of each dotted circle.
Task 3
Oof - let's start out this task with one of those. As I quickly ran through ways of tackling #1 and #2 in my head with Masami, I suddenly came to the realization we were dealing with some sort of layered effect that would take a dot and shove it to the background behind the main Droplet.
As I struggled through a few different options, it suddenly dawned on me to look at the illustration itself. Each dotted circle was actually two paths; with one on top of the Droplet layer, and the other behind it. As I looked at the Droplet at its simplest, I knew the visual effect we were going for was more opaque when it reached the Droplet threshold. So, that's exactly what I did.
Now this was tedious to say the least, but determining the timing in which the dot would reach the edge (and come out the other side) I was able to stub-in an opacity update within that interval. With the power of GSAP and timelines, combining each of those tweens with specific delays was pretty easy:
I ran with that idea and figured out the timings, delays, and offsets for each dot. With some more JavaScript trickery, creating an object with each configuration, looping through them, and even setting a random start position for each was a breeze.
What you see below is the finished product. Let me know what you think!